Showing posts with label nail art. Show all posts

Thursday, 14 August 2014

Laquee Rette Gel Nail Polish ♥

I have an interview today for college, I have applied to study Fashion Design & Manufacture. I am pretty nervous as it is a video conference interview which seems a bit daunting!? I am sure it will be fine, I really hope I get a place, if not I will just try again next year! eek.

This seems to be the only gel nail polish I am wearing at the moment! I always receive lots of compliments on my nails when I wear it. I love it so much, there are lots of different coloured flakes running through the bluey purple colour which shimmer in the light. I would say this is the best gel polish I own and it lasts about 5/6 days without any chips or peeling. I had to wait a couple of weeks for it to arrive as it is from Hong Kong, however, it was worth the wait. The price for one of these large bottles of polish is amazing, most of my gel polishes are thin square bottles and cost a lot more, I love the fact this is a chunky round bottle with a lot more product inside. I will definitely be repurchasing from this seller, they have loads of colours to choose from!


SHARE:

Thursday, 5 June 2014

The Craft by Lou Teasdale ♥

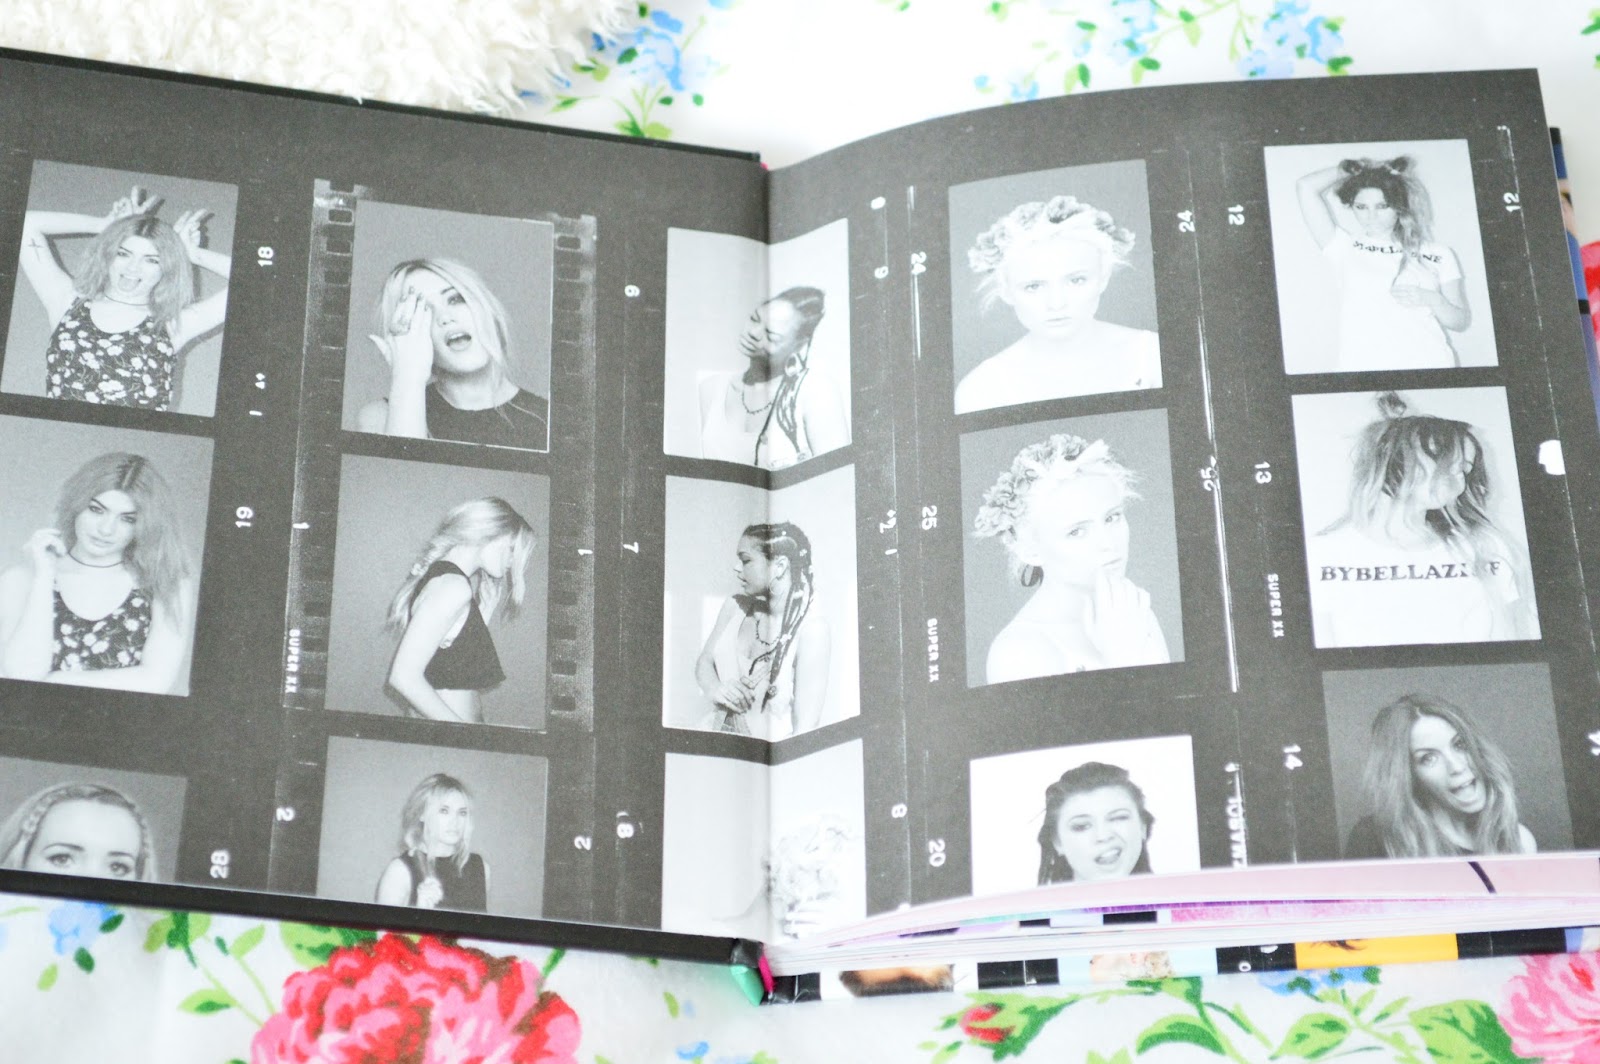
How awesome is this book?! I originally saw it on Zoe London's blog a while ago, I loved the look of it so I just had to buy it. It is so different but yet so me (& it had a sticker page at the back so.. win win situation). I only really bought it for the cool pictures, makeup looks and hairstyles, not really for the tutorials. The whole layout of the book is very blogger-esque, the photography is interesting and the pages have a colourful scrapbook theme to them. It has a very different approach to beauty, it is all about grungy/punk makeup and hair looks, nothing too prim and proper. I have been reaching for this for some hair and makeup inspo, just by looking through the pictures it has, I always find something I like. The book itself looks pretty and colourful sitting out on my dressing table, so all round I love it!
I hope you like the look of it too and for only £6.89 what's not to love?!


SHARE:

Thursday, 31 October 2013

Halloween | Easy Slime Nail Art Tutorial


Happy Halloween! I hope you enjoy my second Halloween inspired nail art tutorial!
1. You will need: Red polish (Calvin Klein 'Salmon'), dark red or dark pink polish (Barry M Hi-Shine '305 Pomegranate'), top coat(MUA) & a dotting tool.
2. Draw a wavy line at the tip of your nail using a dotting tool.
3. Paint a darker shade at the top of your nail and blend in with a dotting tool or small detail brush. Dot red polish onto the middle of your nail to create a drip effect. Finally apply a glossy top coat to finish off your design.

xo

SHARE:

Wednesday, 30 October 2013

Halloween | Pumpkin Nail Art Tutorial ♥


Hello! I thought I would do a different kind of post today, so I hope you like it! I love Halloween, I think it's because the weather starts to change and everywhere feels Autumnal and cosy! Of course I also love the thought of vampires, ghosts and witches with black cats and broom sticks haha! 
Pumpkins are one of those things that instantly remind me of Halloween so that's why I thought they would make a good nail art tutorial, to get into the Halloween spirit (ha ha spirit.. get it..oOoOoh).

1. You will need: Green polish (Beauty UK), 2 shades of orange polish (Essie 'Action' & Essie 'Orange, It's Obvious'), black polish (Barry M '47 Black'), white polish (Barry M '66 Matt White'),  a top coat (MUA) & a dotting tool.
2. Paint a semi-circle on the tip of your nail with the lightest shade of orange.
3. With a dotting tool blend the darker shade of orange into the sides of the semi-circle (this doesn't have to be neat at the edges as you will fill a colour round them later).
4. Paint on your desired pumpkin face using a dotting tool and black polish, add a green stalk to the top and then dot white polish onto the eyes as a highlight.
5. Blend black polish around the outsides of the pumpkin, neatening up the edges as you go.
6. Paint the darker shade of orange onto the bottom of your nail and use a dotting tool to blend the black and orange together, I find 'swirling' them together works well. Finally apply a glossy top coat to finish off the design.

I hope you liked this tutorial, comment any ideas you have for more nail art tutorials below :)! xo
SHARE:

Tuesday, 16 July 2013

Maybelline Color Show - Polka Dot Edition | Review ♥

201 Speckled Pink - £2.99(Superdrug)       200 Rainforest Canopy - £2.99
Helloo! I hope you are all enjoying the lovely summer weather wherever you are! I am in the process of getting ready for work and typing up this post.. both seem to be taking forever. I have a ELF haul coming up and a couple of other posts in mind, so tomorrow on my day off I will hopefully have time to type them up.

I thought you would all like to read about these gorgeous nail polishes. 
The second picture is only one coat although I would recommend painting a white base coat on your nails before applying these as the colour will come out much more vibrant. They come in a range of colours and are the perfect dupe for the Revlon Confetti Top Coat polish (the bottles are much bigger than Revlon's too!). 
The only problem I had with these was they are really hard to take off, The confetti part just seems to stick right onto your nail after the colour around it has came off.. but after some perseverance they do come off. I would recommend you try them out, for only £2.99 you can't go wrong! 
SHARE:

Thursday, 14 February 2013

This Weeks Polyvore Collage - Valentines Edition ♥

Happy Valentines Day everyone! I decided to theme this weeks polyvore with Valentine's day. 
This outfit would look lovely if you are going out for dinner or lunch! I hope you like it, I love the nail tutorial!
p.s. You can use my Valentine's template for your own collage from my Polyvore page, Click Here.


SHARE:

Sunday, 20 January 2013

Leopard Print Nail Tutorial

I really don't like Sundays.. today has been a lazy day. But it has given me a chance to catch up on some more blogs and YouTube videos, so it's not all bad. I decided to paint my nails tonight so I thought you might want to read how I done it. I hope you enjoy the tutorial, if I do another one I will try my best to do a step by step using individual pictures too I know that always helps.


I really like this nail look and it is very simple to do!


I used Superdrug's own brand of plain ready to paint false nails. I love using them, they are a normal kind of length, not too long. I then applied Revlon '185' sweet tart to all of my nails apart from my ring finger, I painted this one white using Barry M '66' matt white (which isn't actually a matte colour it's shiny). I then took one of my dotting tools with a large nib (you can use a cocktail stick for this part and the next if you don't have them) and Revlon '185' pink and made circle shapes and 'c' shapes randomly across the white nail. Finally once the pink had dried, I used the pointed end of a dotting tool and Barry M '47' black and painted half moon shapes around the pink blobs and dotted some black polish in places. I finished it off with a top coat and that's it done!
I hope this tutorial is useful to you and please tell me if you would like to see more posts like this as I am always doing nail art :) x
SHARE:
Blogger Template by pipdig